Grain direction decides whether a board comes off the planer glass-smooth or fuzzy and gouged, and it is the first thing worth checking before any cutting edge touches your stock. You cannot see it printed on the face of a board, but you can read it in about ten seconds. Once you can, you stop planing away thickness to fix damage that should never have happened.
Here is how to find the direction, and how to set up your jointer, planer, and router so the cut runs with the fibers instead of into them.
Why Tearout Happens
Wood is a bundle of hollow tubes glued together. When a knife meets fibers that lean away from the cut, the edge severs them cleanly and the wood behind them supports the cut. When those fibers lean into the edge, the knife slides underneath the ends and pries them up before they sever. Instead of a clean shaving, you get a chunk lifted out of the surface. Blame the fibers, not the tool: even a freshly sharpened iron will tear wood when it is cutting uphill.
That is why the same board can machine perfectly on one pass and look chewed on the next. Flip it end for end and you have changed the relationship between the cutter and the fibers.
How to Read Grain Direction Before You Cut
Start with the long edge of the board, not the end grain. On flatsawn stock, edge grain usually looks like a hill: lines running roughly parallel, then sloping up or down toward one end. The slope tells you the direction. You want the cutter to enter high and travel downhill.
A few quick checks:
- Look at the edge in raking light. Tilt the board under a lamp until the surface fibers show, or wipe the edge with denatured alcohol or a damp rag to raise the grain lines.
- Drag a fingernail along the edge. One direction feels smooth; the other catches as your nail lifts the ends of the fibers. The smooth direction is downhill, and it is the direction to feed.
- Read the face as a hint, not a rule. Cathedral arches on a flatsawn face suggest the slope, but figured stock lies constantly. Trust the edge.
- Take a test pass. On reversing grain, a knot, or a burl, plane a light pass on a section that will be cut off or hidden, then look at the result.
Once you know the direction, mark it. A chalk arrow on the face and the edge is the cheapest note in the shop, and it survives a trip through the planer better than your memory does.
Jointer and Planer: Feed It Downhill
The jointer
The jointer only cuts in one direction, so you get one decision: which end of the board goes first. Start with the downhill end. If you are unsure, take a light pass — 1/32 in. or less on figured stock — and look at the surface. Clean shavings and a smooth surface mean you chose right. Torn grain or a fuzzy edge means flip the board and take another light pass from the other end.
The planer
The planer is a different animal. It has a fixed feed direction and a cutterhead that spins at high speed. You cannot change the cutter's rotation, but you can choose which end of the board goes in first. If you feed the board downhill, the knives slice cleanly and the chips fall away. If you feed it uphill, the rollers may hold the board down, but the knives will still lift the fibers. You will see tearout, especially around knots and reversing grain. Always mark the downhill end before sending the board through. And remember: the planer's pressure rollers can compress fibers, so even if you feed downhill, a dull blade or too aggressive a cut can still cause tearout. Keep passes light—1/32 in. or less on figured stock.
Router and Shaper: Direction Is Everything
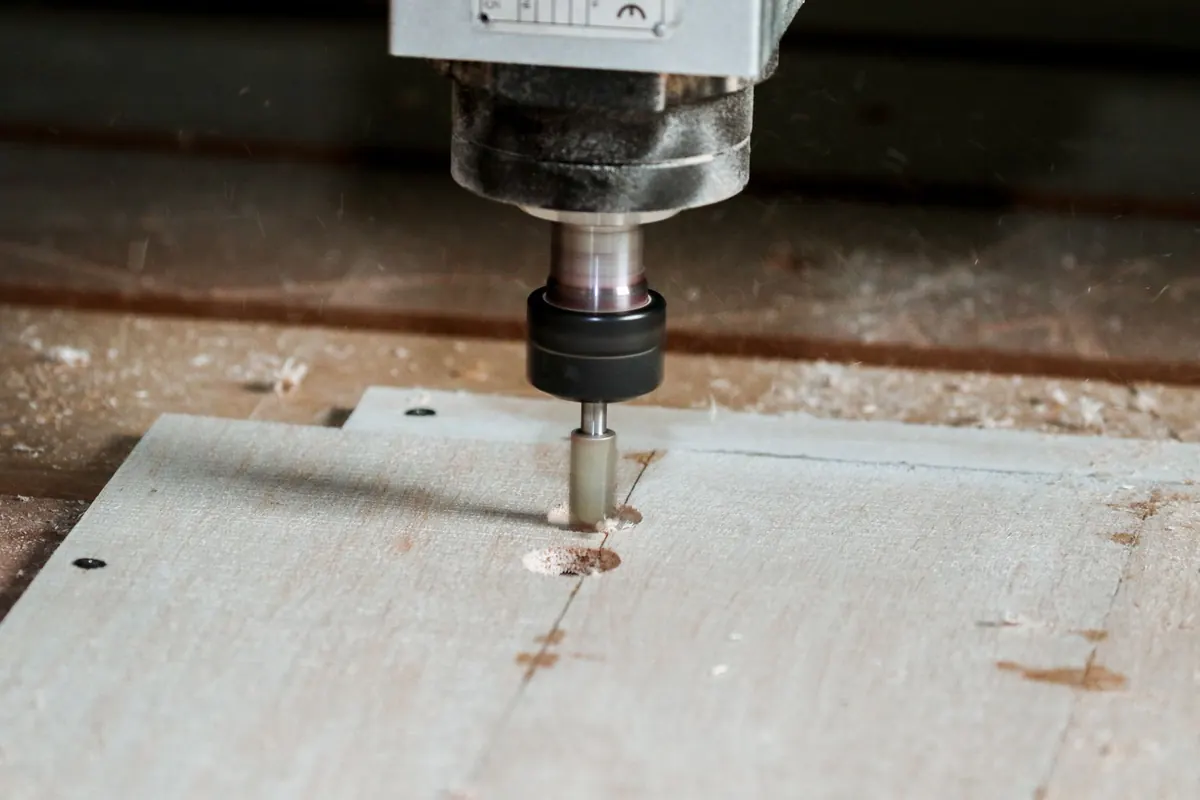
Routers and shapers cut with a rotating bit, and the direction of feed relative to the bit's rotation determines whether you get a clean edge or a gouged one. The rule is simple: you want the cutter to enter the wood at the downhill end of the grain and exit at the uphill end. In practice, that means:
- Router table: Feed the workpiece from right to left. Orient the board so the grain runs downhill in that direction. If you get tearout, flip the board end for end and try again.
- Handheld router: Move the router from left to right along the edge (for an outside edge). Again, orient the board or change your direction so the cut is downhill. For inside cuts, the direction reverses.
- Climb cutting: For highly figured wood, a very light climb cut—feeding the workpiece in the same direction as the bit's rotation—can eliminate tearout, but it is dangerous. The router will want to run away from you. Only do this with a firm grip, a small bit, and a very light pass. Never climb cut on a shaper.
Hand Planes: The Same Rule Applies
Photo: Couleur / Pixabay