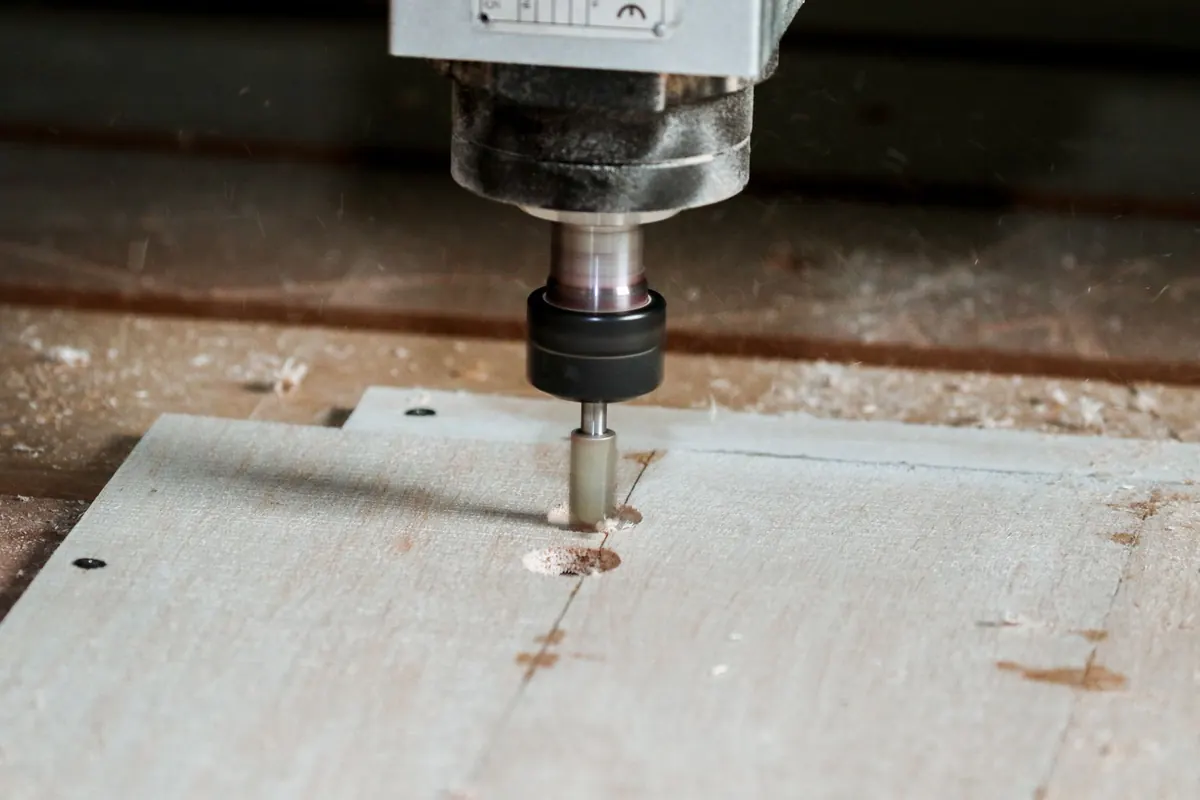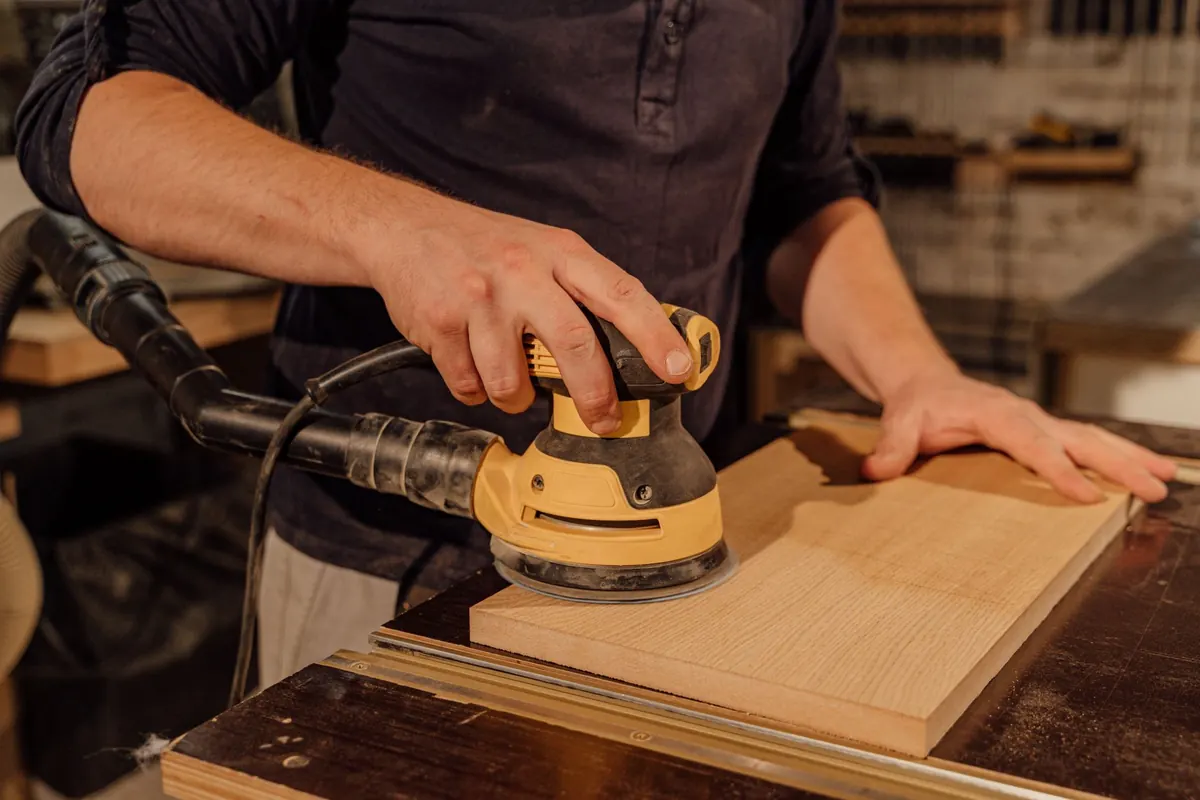
A random orbit sander is the fastest way to go from mill marks to a finish-ready surface. It is also the fastest way to ruin that surface with a field of little pigtail swirls that only appear after the stain goes on. Pigtails almost never come from bad luck. They come from a tired backing pad, a skipped grit, too much pressure, or a disc that quit cutting while you kept pushing. Set the tool up correctly and the finish mostly takes care of itself.
Check the Pad Before You Touch the Wood
Most swirl problems are pad problems. The backing pad is the interface between the machine and the abrasive. When it gets tired, the disc slips, tilts, or rides unevenly, and every one of those faults gets printed into the wood.
- Hook-and-loop face. If the hooks are mashed flat or your discs barely grab, the disc creeps and wrinkles under load. Replace the pad.
- Flatness. Lay a straightedge across the pad. A dished or cupped pad cannot sand flat no matter how careful you are with technique.
- Foam condition. Compressed, torn, or heat-glazed edges transfer their shape into the workpiece. Nicks around the rim are a classic source of gouges.
- Pad hardness. Soft pads conform to curves and suit profiles and moldings. Medium or firm pads stay flatter on panels. Keep both on hand and match the pad to the job.
- Hole alignment. Line the disc holes up with the holes in the pad. Misaligned holes choke the dust path, and a clogged disc rubs instead of cuts.
If you do a lot of contoured work, add a thin interface pad between the backing pad and the disc. It softens the edge and lets the abrasive follow a curve without digging in.
Build a Grit Progression You Don't Skip
Each grit has one job: remove the scratches left by the grit before it. Skipping a step forces the next disc to do double work, and it rarely finishes before you get impatient and lean on the tool.
For bare wood headed toward a film finish, a reliable sequence is 80, 120, 150, 180, 220. Start at 80 only if you actually need to remove material or flatten a glue line. If you're staining, stop at 180. Pigment needs open pores to bite into, and sanding to 220 can polish the surface enough to cause blotchy color. For a clear film finish, 220 is a sensible final grit. Going finer than that on bare wood mostly burnishes the surface and can hurt adhesion.
A few rules keep you out of trouble. Don't jump more than one step in the coarse range; 120 to 150 is comfortable, 120 to 180 is a stretch, and 80 straight to 180 means you'll be sanding twice as long as you planned. Replace discs before they quit cutting. A loaded disc that has stopped cutting is what tempts you to press harder, and pressing harder is where pigtails come from. Keep grits separated in labeled sleeves, because one stray coarse particle on a fine disc leaves a scratch you'll chase for an hour. Finally, scribble a light pencil grid over the panel and sand until it disappears. It's the simplest way to keep the cut even and avoid over-sanding one spot.
Dial In Speed, Pressure, and Motion
Variable speed is on the tool for a reason. Run coarse grits a little faster, and back the speed down as the grits get finer. Fine paper at high speed generates heat, loads quickly, and leaves swirl marks that a slower setting would have avoided.
Use a simple rotation check before you commit to a panel. With the sander running on a scrap, watch the disc. In a random orbit sander the pad should orbit rapidly while rotating slowly. If you can't see it rotating at all, you're either pressing too hard or running the speed too low. Back off until the rotation comes back.
Pressure is where most people go wrong. Aim for the weight of the machine plus the weight of your hand, which is only a couple of pounds. Anything more stalls the orbit, glazes the paper, and dishes the surface. Let the abrasive do the cutting.
For motion, make steady passes at roughly one inch per second, overlapping about half the pad width. Two passes at right angles, one side to side and one front to back, even out the cut nicely. Keep the pad flat on the surface at all times. Tipping onto the edge concentrates force in one spot and cuts a groove that no amount of finish will hide. Keep the sander moving while the pad is spinning, and lift straight up off the work rather than rocking it off an edge.
Dust Extraction Is Part of the Setup
Dust extraction isn't just about keeping the shop clean. Dust is what clogs the abrasive, and a clogged disc stops cutting. Match the disc's hole pattern to the pad, empty the bag or canister before it fills, and check that the vac hose isn't kinked.
If a shop vacuum pulls the sander down and makes the pad stick to the work, don't switch the vac off. Bleed the suction instead. Many vacuums have a bleed valve, and a separator or a short length of hose with a small hole drilled near the tool will do the same job. You want the lowest suction that still moves the dust.
One health note worth repeating: fine wood dust, especially from MDF and some tropical species, is a genuine respiratory hazard. Run your extraction and wear a properly fitted respirator rather than relying on a dust mask. If you work with wood regularly and have any breathing concerns, talk to a doctor.
Verify the Surface Before You Finish
Pigtails hide until the finish goes on. Two habits catch them early. First, look at the panel under raking light, with a lamp held low and angled across the surface. Swirls show up as arcs of shadow. Second, wipe the surface with mineral spirits or denatured alcohol. It simulates a finish and reveals scratches you'd otherwise miss. Let it flash off completely before you apply anything.
If you find pigtails, don't try to polish them out with the next finer grit. Drop back one grit, sand until the arcs are gone, then work forward again through your sequence. Trying to fix coarse scratches with fine paper just means you'll spend an hour pressing too hard and adding new ones.
A Setup Sequence Worth Repeating
- Inspect the backing pad. Check flatness, hooks, and foam edges, and replace it if any of them are tired.
- Choose your grit and match the disc's hole pattern to the pad.
- Set the speed. Faster for coarse, slower as grits get fine, and confirm the pad still rotates.
- Connect extraction and reduce suction to the lowest setting that still clears dust.
- Sand in two light passes at right angles, about an inch per second, half-pad overlaps, pad flat.
- Check your pencil grid, swap the disc, and move to the next grit.
- Before finishing, inspect under raking light and with a mineral spirits wipe.
None of this is complicated, and none of it requires a better sander. It requires a fresh pad, a disciplined grit sequence, a light hand, and the patience to check the surface before you commit stain or finish to it. Do those four things consistently, and pigtails stop being something you fix later and become something that simply doesn't happen.
Photo: Antoni Shkraba / Pexels