How to Build a Winter-Ready Outdoor Workbench for Cold Climates
A workbench in the yard earns its keep from April through November. Then winter arrives and it becomes a frozen shelf that collects snow, splits along the end grain, and rusts every screw you drove. None of that is inevitable. A bench built for cold weather is barely more work than one built for a mild climate — the differences come down to materials, drainage, and how the bench meets the ground.
What follows is a weekend build: a four-foot bench, 34 to 36 inches tall, with a sloped top, sled-style runners, and enough bracing to sit outside from October to April without turning into scrap. It is not a delicate piece of furniture. It is a tool that happens to look like a bench, and it should be built with the same attitude you bring to a pry bar or a splitting maul.
What "Winter-Ready" Actually Means
Four things wreck an outdoor bench in a cold climate: water that sits on a flat surface, water that freezes inside end grain, ground that heaves as it thaws, and wind. A light bench on frozen turf becomes a projectile.
So the design comes down to a short list of goals:
- Drain every horizontal surface instead of trusting a finish to hold water out.
- Keep wood out of direct contact with soil, where rot starts.
- Use fasteners and finishes rated for wet-dry cycling, not just for rain.
- Keep the bench heavy and low so it stays put, but easy enough to drag clear of a drift.
Everything below serves one of those four goals. A flat top in Minnesota can hold a half-inch of meltwater after a warm afternoon, then freeze solid overnight. That ice lifts the finish, pries at the seams, and turns a screwed-down board into a loose board. A sloped top with gaps lets that water leave before it becomes a problem. Likewise, a bench that sits directly on soil wicks moisture up through the legs all winter; a bench on gravel runners stays dry at the base and sheds frost heave instead of fighting it.
Pick Lumber and Hardware That Tolerate Freezing
Start with wood rated for ground contact: pressure-treated southern yellow pine, cedar, or white oak. Skip MDF, particleboard, interior plywood, and the pre-cut project panels sold for shelving. Those soak up water, and when that water freezes and expands inside the fibers, the panel swells and delaminates into something you can't save. A big-box 2x4 that feels heavy and damp in the store is already halfway to becoming a sponge; choose dry, straight stock instead.
For the top, 2x6s or 2x8s are the practical choice. Bolted side by side, they give you a thick surface you can plane, sand, and repair for years. Reject anything with a large knot near an end — that's where a split starts. Also avoid boards with severe bow or twist. You can pull a small bend into place with clamps and screws, but a twisted board will keep fighting the bench every time the weather changes.
Fasteners and adhesive
Stainless steel screws and bolts are the safest option, particularly with modern pressure-treated lumber, whose preservatives attack zinc coatings. Hot-dip galvanized hardware is a reasonable second choice; plain electroplated screws rust through in a season or two. Don't pair aluminum with treated wood — the two metals react and the fastener disappears.
For joints, use an exterior-rated construction adhesive and add mechanical fasteners anyway. Adhesive alone is not a structural plan. Think of the adhesive as a gasket that keeps water out of the joint, while the screws or bolts carry the load.
Finishes That Survive Wet-Dry Cycling
Choose a penetrating exterior oil or deck stain, not a film-forming polyurethane or varnish. A hard film sits on top of the wood and traps moisture underneath. When that moisture freezes, the film blisters and peels. Penetrating finishes soak into the fibers, let the wood breathe, and can be refreshed with a rag or brush each fall.
Pay special attention to end grain. The cut ends of legs, runners, and top boards are the most vulnerable spots on the whole bench. Brush them with end-grain sealer or extra oil until they stop drinking. A blockquote worth remembering:
Water does not destroy a bench in one storm. It destroys the bench by getting into the same end grain, freezing, and prying the fibers apart night after night.
The Build, Step by Step
These numbers give a bench roughly 48 inches long, 24 inches deep, and 36 inches tall. Measure your own stance before you cut — a bench that's two inches too short is a bench you'll avoid.
- Cut the runners. Two 2x6s, about 44 inches long. Bevel the front end of each at a shallow angle so the bench slides over snow instead of plowing into it. These runners are the sled.
- Notch and attach the legs. Four 4x4s, 33 inches long. Cut a shallow notch where each leg meets its runner so the leg sits in a seat rather than hanging off the side, then bolt through with carriage bolts. Notching is what stops the legs from splaying when you drag the bench over uneven ground.
- Frame the top. Two long aprons at 41 inches and two short aprons at 21 inches, all from 2x4 stock. Screw them into a rectangle that ties the four legs together, with the long aprons running front to back and the short aprons spanning the depth. Check for square by measuring the diagonals; they should match within 1/8 inch.
- Add lower stretchers. Two 2x4 stretchers, one on each side, bolted between the front and rear legs about 8 inches above the runners. These stop the bench from racking when you drag it or lean hard on one end.
- Create the slope. Rip two tapered sleepers from a 2x4, about 1/2 inch thick at the rear and tapering to nothing at the front. Screw one to each long apron. The top will rest on these, giving you roughly 1/8 inch per foot of fall toward the front. Water has somewhere to go.
- Install the top boards. Cut five 2x6s to 48 inches. Lay them across the sleepers with a 1/4-inch gap between boards for drainage and air movement. Predrill and screw each board down with two stainless screws at every crossing. Don't butt the boards tightly; wood moves, and trapped water is the enemy.
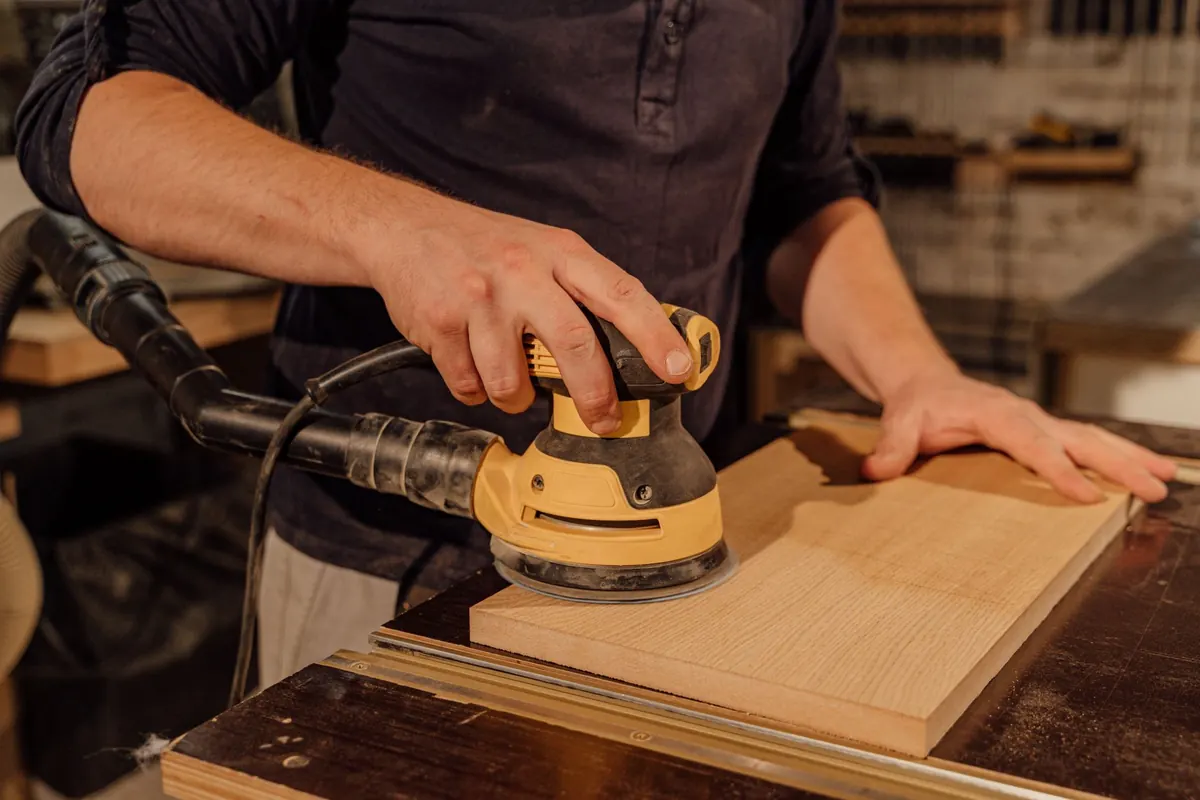
- Ease the edges. Rout or sand a small chamfer on the front edge of the top and on the ends of the runners. Sharp corners chip when they freeze and get banged with a snow shovel.
- Seal the end grain. Brush end-grain sealer or exterior penetrating oil on every cut, especially the leg bottoms and the runner ends. End grain drinks water like a straw, and freezing water splits it.
- Add an optional slatted shelf. If you want storage, build a loose shelf from three 2x4s with 1-inch gaps and set it on the lower stretchers. Do not install a solid shelf; it will become a tray of ice.
- Finish and place the bench. Apply two coats of exterior penetrating stain or oil to all surfaces, then set the bench on a gravel pad or concrete pavers. Keep the wood out of direct soil contact and make sure the runners are not sitting in a puddle.
Site It Where Water Leaves
The best-built bench will still fail if it sits in a low spot that collects meltwater. Set it on a pad of compacted gravel at least 4 inches deep, or on concrete pavers that drain freely. The goal is to keep the bottom of the runners above the mud and above the puddle line. If the ground already slopes, place the bench so it slopes with the site, not against it.
Wind is the other site problem. A 40 mph gust will slide a 60-pound bench across ice if it has nothing to catch the air. If your yard is exposed, drive two removable auger anchors or steel stakes through the runners and clip them with cable or chain. Leave a little slack so frost heave can move the ground without tearing the bench apart. On a deck or patio, set the bench against a wall or add a couple of sandbags on the lower stretchers during the windiest months.
Keep the bench clear of roof drip lines and snowplow piles. A bench that sits under an eave can get buried by a sudden roof slide, and a bench at the edge of the driveway can get clipped by a plow. A few feet of separation saves a lot of repair work.
Cold-Weather Maintenance That Saves the Bench
Once the bench is built, maintenance is mostly about not letting ice and salt do the work for you.
- Before the first snow: Check every bolt and screw. Tighten anything loose. Reapply penetrating oil to the top and end grain. If you use the bench as a potting or tool station, clear it off so water cannot pool around objects.
- During winter: Remove snow with a plastic shovel or stiff broom. Do not chop ice off the top with a metal edge; you will gouge the wood and open fresh grain to water. Use sand for traction instead of rock salt, which accelerates corrosion on fasteners.
- After a thaw: Look for standing water on the top. If it pools, the slope has sagged or a gap has clogged with debris. Fix it before the next freeze.
- In spring: Inspect the leg bottoms and runner ends for soft spots. Sand any raised grain, replace rusted fasteners, and touch up the finish. A bench that gets a little attention in April will be ready for the next October.
A winter-ready workbench is not complicated. It is a heavy, well-drained, well-fastened bench that respects freezing water, ground movement, and wind. Build it with ground-contact wood, stainless or hot-dip galvanized hardware, a sloped and gapped top, and sled runners that keep the legs out of the mud. Then give it a gravel pad, a fall oiling, and a few minutes of maintenance after each thaw. Do that, and the bench will still be solid when the first hard freeze arrives — and still be there when the snow finally melts.
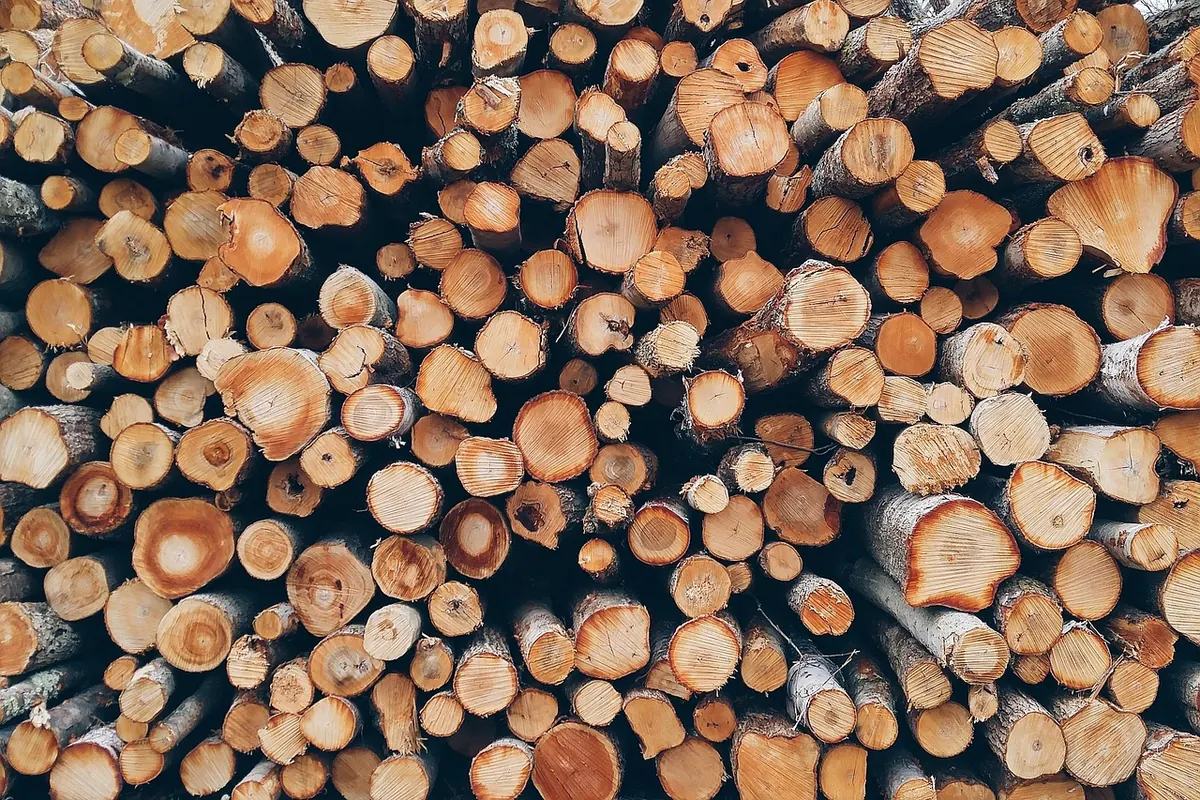
Photo: cocoparisienne / Pixabay