Nobody's first cutting board comes out perfectly flat, and no one's first box has tight miters. That is normal. What separates a woodworker who improves fast from one who keeps fighting the same problems is catching small errors early, before they multiply, and knowing a fix that takes thirty seconds instead of a trip back to the lumber yard.
These are the ten mistakes that show up most often in beginner shops, grouped by where they happen, along with fixes you can use on your very next cut.
1. Measuring From Whatever Is Closest
A tape measure is a rough layout tool, not a precision instrument. The hook slides by design, the printed lines are about a millimeter wide, and your pencil line adds another half millimeter. Measure a board three times from three different reference points and you can easily be 2 mm off, which is the difference between a drawer that slides and one that binds.
The fix is to pick one face and one edge of every board and mark them as your reference. Take every measurement from that corner, never from the opposite end. For repeated parts, skip the tape entirely and make a story stick: a scrap of plywood marked once with the exact length and hole positions, then used to mark every matching piece. It eliminates reading errors completely.
Mark, then cut to the waste side
Draw a knife line instead of a pencil line where accuracy matters. A sharp knife leaves a groove that catches the tip of a chisel or the tooth of a saw. Then cut slightly outside the line and sneak up on it with a shoulder plane, a block plane, or a sanding block set on a square. A test cut in scrap also tells you your blade's kerf, usually around 3 mm on a table saw, so you can account for what the blade eats.
2. Tearing Out Grain Instead of Cutting It
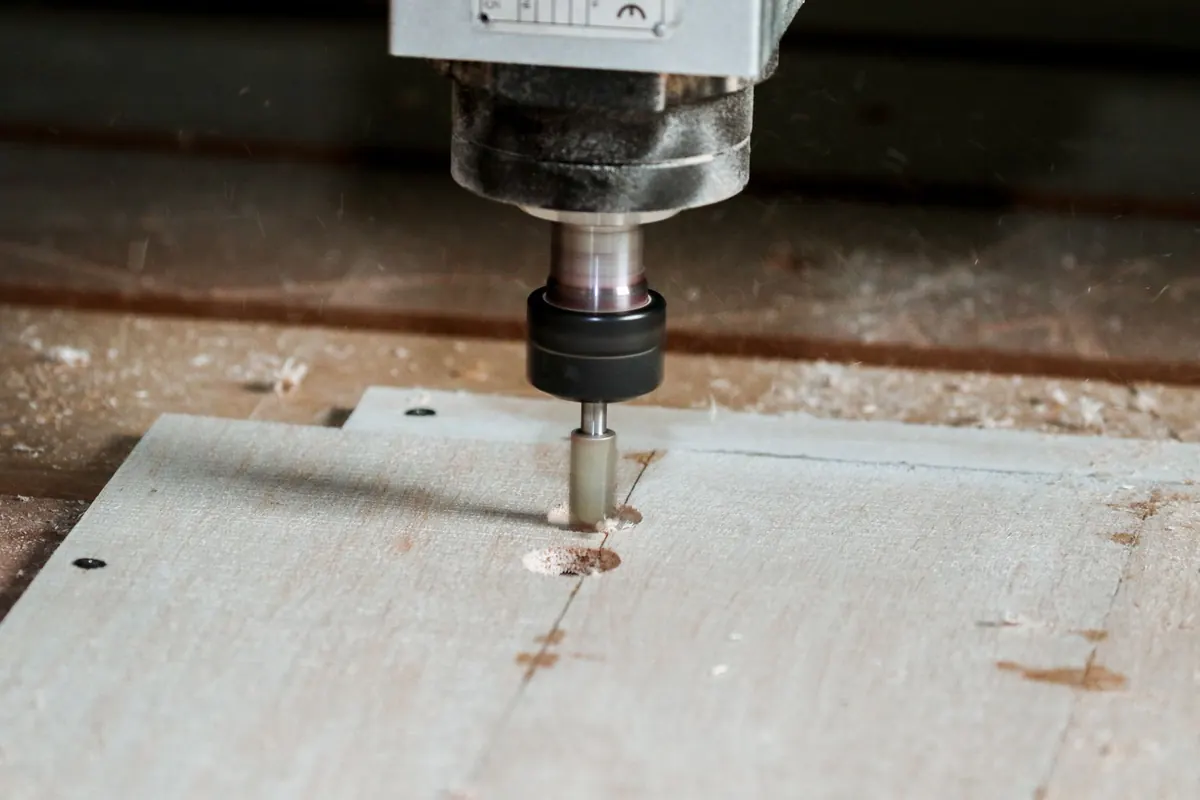
Tearout happens when the cutter lifts wood fibers instead of slicing them. On the edge of a board, the grain lines form a slope. Feed the wood so the blade enters at the shallow end of that slope and exits at the steep end, and the fibers stay supported. Feed the other way and you get fuzz and chunks, especially on figured maple, cherry, and anything with reversing grain.
A few habits prevent most of it:
- Score the cut line with a knife before sawing, which severs the fibers at the surface.
- Clamp a scrap backer board behind the piece when crosscutting, so the exit side has support.
- Put painter's tape over the line when cutting veneered plywood.
- Take lighter passes when planing or routing figured stock, and keep the blades sharp.
- Fit a zero-clearance insert on the table saw so the wood is supported right at the blade.
One warning: the trick of routing "backwards" to avoid tearout can grab the work and yank it out of your hands. Leave climb cutting alone until someone can walk you through it in person.
3. Starting a Glue-Up With No Plan
Glue-ups go wrong because they are timed events. PVA glue gives you roughly ten minutes of working time, and beginners usually spend eight of those minutes looking for clamps.
- Dry-fit everything first, with clamps, and count them. If you need six, have eight within reach.
- Lay out the parts in the order you will assemble them, and keep a damp rag and a dry rag nearby.
- Glue in sub-assemblies when you can, then join those into the whole. Small steps beat one giant scramble.
- Use a thin, even bead. Squeeze-out means you used enough glue; a starved joint with no squeeze-out is the one that fails.
- Snug clamps, do not crush them. Overtightening squeezes out so much glue that the joint starves.
- Check the diagonals with a tape before the glue sets. A carcase that is out of square now will stay that way.
Wipe squeeze-out with a damp, not soaking wet, cloth. A dripping rag pushes glue into the pores and raises the grain. Wax paper under the assembly keeps it off your bench.
4. Sanding as if More Is Better
Sanding is not about pressure or time, it is about replacing one scratch pattern with a finer one. Skipping from 80 grit to 220 leaves deep scratches that only show up after the finish goes on, when it is too late. Work through the grits: 80, 120, 180, 220 for most projects, and stop at 220 before finishing. Going finer can burnish the surface and actually reduce how well stain and finish absorb.
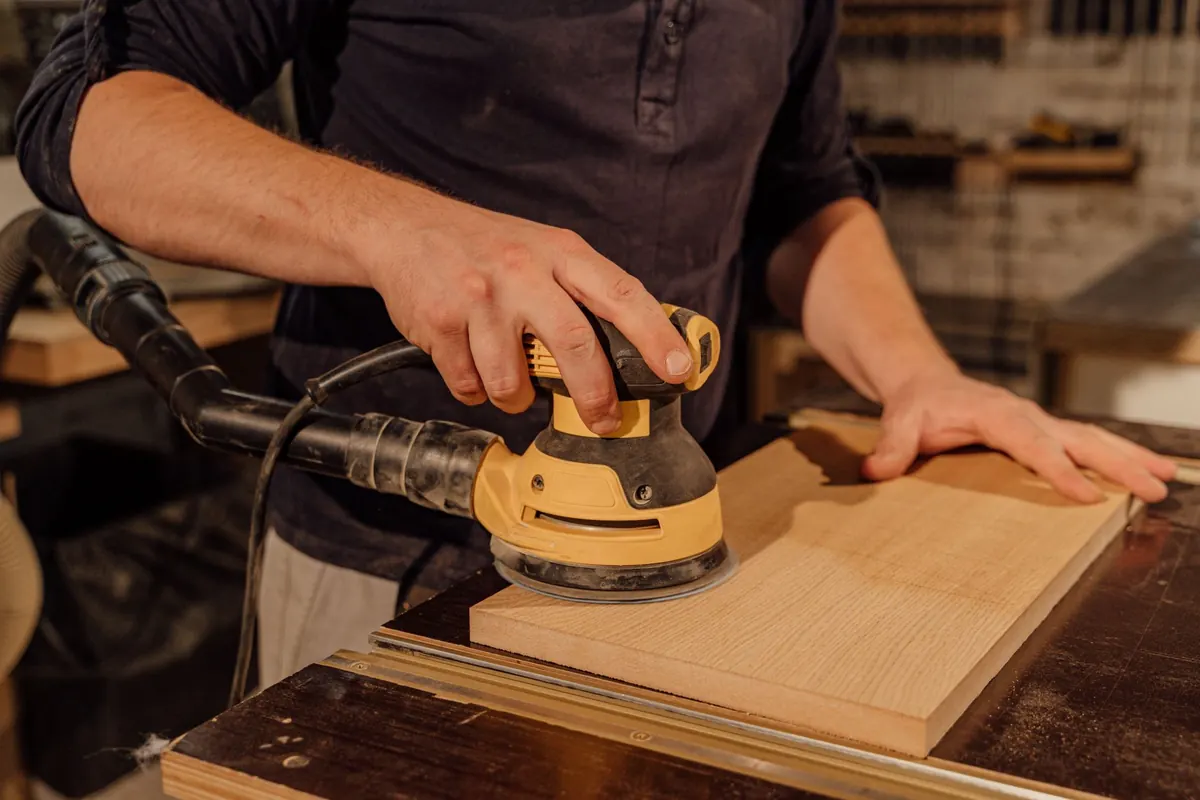
Two habits that help: scribble pencil marks across the surface and sand until they are gone, and use a raking light from a low angle to reveal defects you cannot see from above. Light passes with a sanding block beat leaning into an orbital sander, which rounds over edges and dishes out flat surfaces.
5. Finishing Without Testing on Scrap
The most common finishing complaint from new woodworkers is blotchy stain, and it is almost always the wood's fault, not yours. Pine, cherry, and maple absorb stain unevenly. A pre-stain conditioner, a gel stain, or a dye instead of a pigment stain will even things out. Test on an offcut from the same board first, every time.
Other finishing fixes are just patience. Thin coats, brushed with the grain, dry better than thick ones. Sand lightly between coats with 320 or 400 grit. Deal with dust by vacuuming the shop, then wiping with a tack cloth, and let the finish cure somewhere out of the dust stream. Wipe-on oil and poly blends are the most forgiving starting point for a beginner.
6. Blaming Your Hands When the Tool Is Out of Tune
If every cut comes out slightly off, stop practicing and check the setup. A table saw fence that is not parallel to the blade will burn and bind no matter how carefully you feed. A square that has been dropped is no longer square (test it by drawing a line, flipping it, and drawing again). A dull blade makes you push harder, and pushing hard is when things slip.
Spend one evening on maintenance: clean pitch off blades, check the fence against the miter slot, and shim the bench so it does not rock. Before cutting good stock, make the same cut in a scrap and measure the result. That single habit catches more errors than any jig.
Small Habits That Prevent Most of These
Keep a notebook of the dimensions you actually used, not the ones you planned. Cut the first piece in scrap. Leave a millimeter or two and sneak up on final size. Buy good clamps and a way to sharpen before you buy a third router. And when something goes wrong, resist the urge to push through it. Stop, figure out which of these six problems you just ran into, and fix that instead of the symptom. Woodworking rewards the person who slows down at the right moments, and that is a skill you can build starting today.
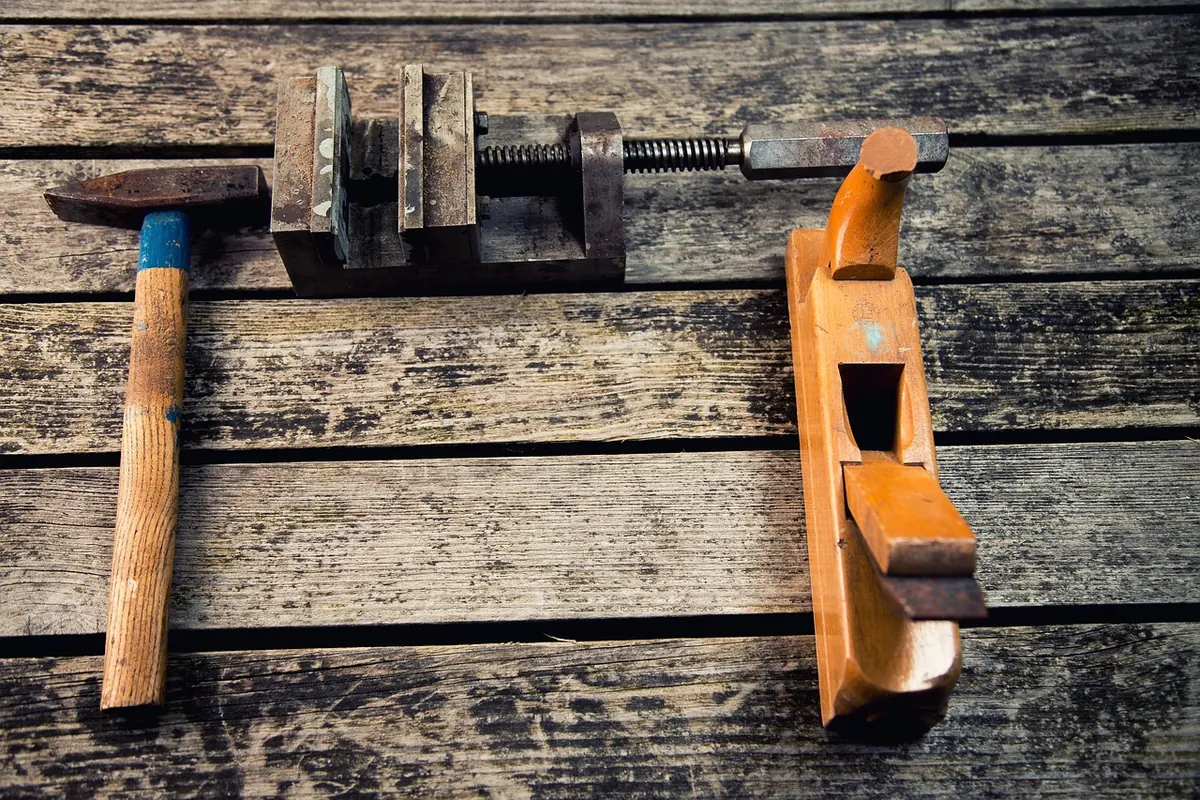
Photo: Pexels / Pixabay